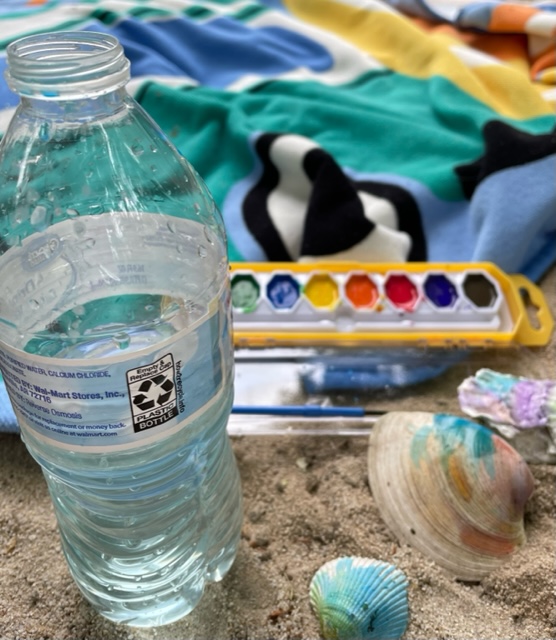
Keep kids engaged and entertained while enjoying the beach! Here’s a step-by-step guide on collecting shells and using watercolors to paint them:
- Shell Collection:
- Encourage children to search for shells along the shore. Remind them to choose shells that are already empty and avoid live creatures.
- Help younger children identify different types of shells and explain their unique features.
- Shell Preparation:
- Rinse the collected shells with water to remove any sand or debris. Allow them to dry completely before painting.
- Painting Supplies:
- Gather watercolor paints, brushes, a palette or small containers for mixing colors, and a cup of water for rinsing brushes.
- Consider using watercolor pencils or crayons as an alternative to paints, especially for younger children.
- Setting up:
- Find a comfortable spot on the beach where children can sit and paint. You might want to bring a small blanket or towel to keep the surface clean.
- Painting Process:
- Provide each child with a few shells and a set of watercolors.
- Encourage them to observe the shells closely, noticing their shapes, colors, and patterns.
- Demonstrate different painting techniques, such as blending colors, adding texture, or creating washes.
- Let the children express their creativity by painting the shells in any way they like. They can mimic the shell’s natural colors or use their imagination to create unique designs.
- Drying and Display:
- Once dry, children can display their artwork on the beach or take them home as souvenirs.
Remember to prioritize safety during this activity:
- Use non-toxic watercolors suitable for children.
- Be mindful of the environmental impact and avoid taking shells that are still inhabited by living creatures.
- Remind children not to put shells in their mouths and to wash their hands after handling them.
Enjoy this creative and engaging activity with the kids, and have a fantastic time at the beach!

